


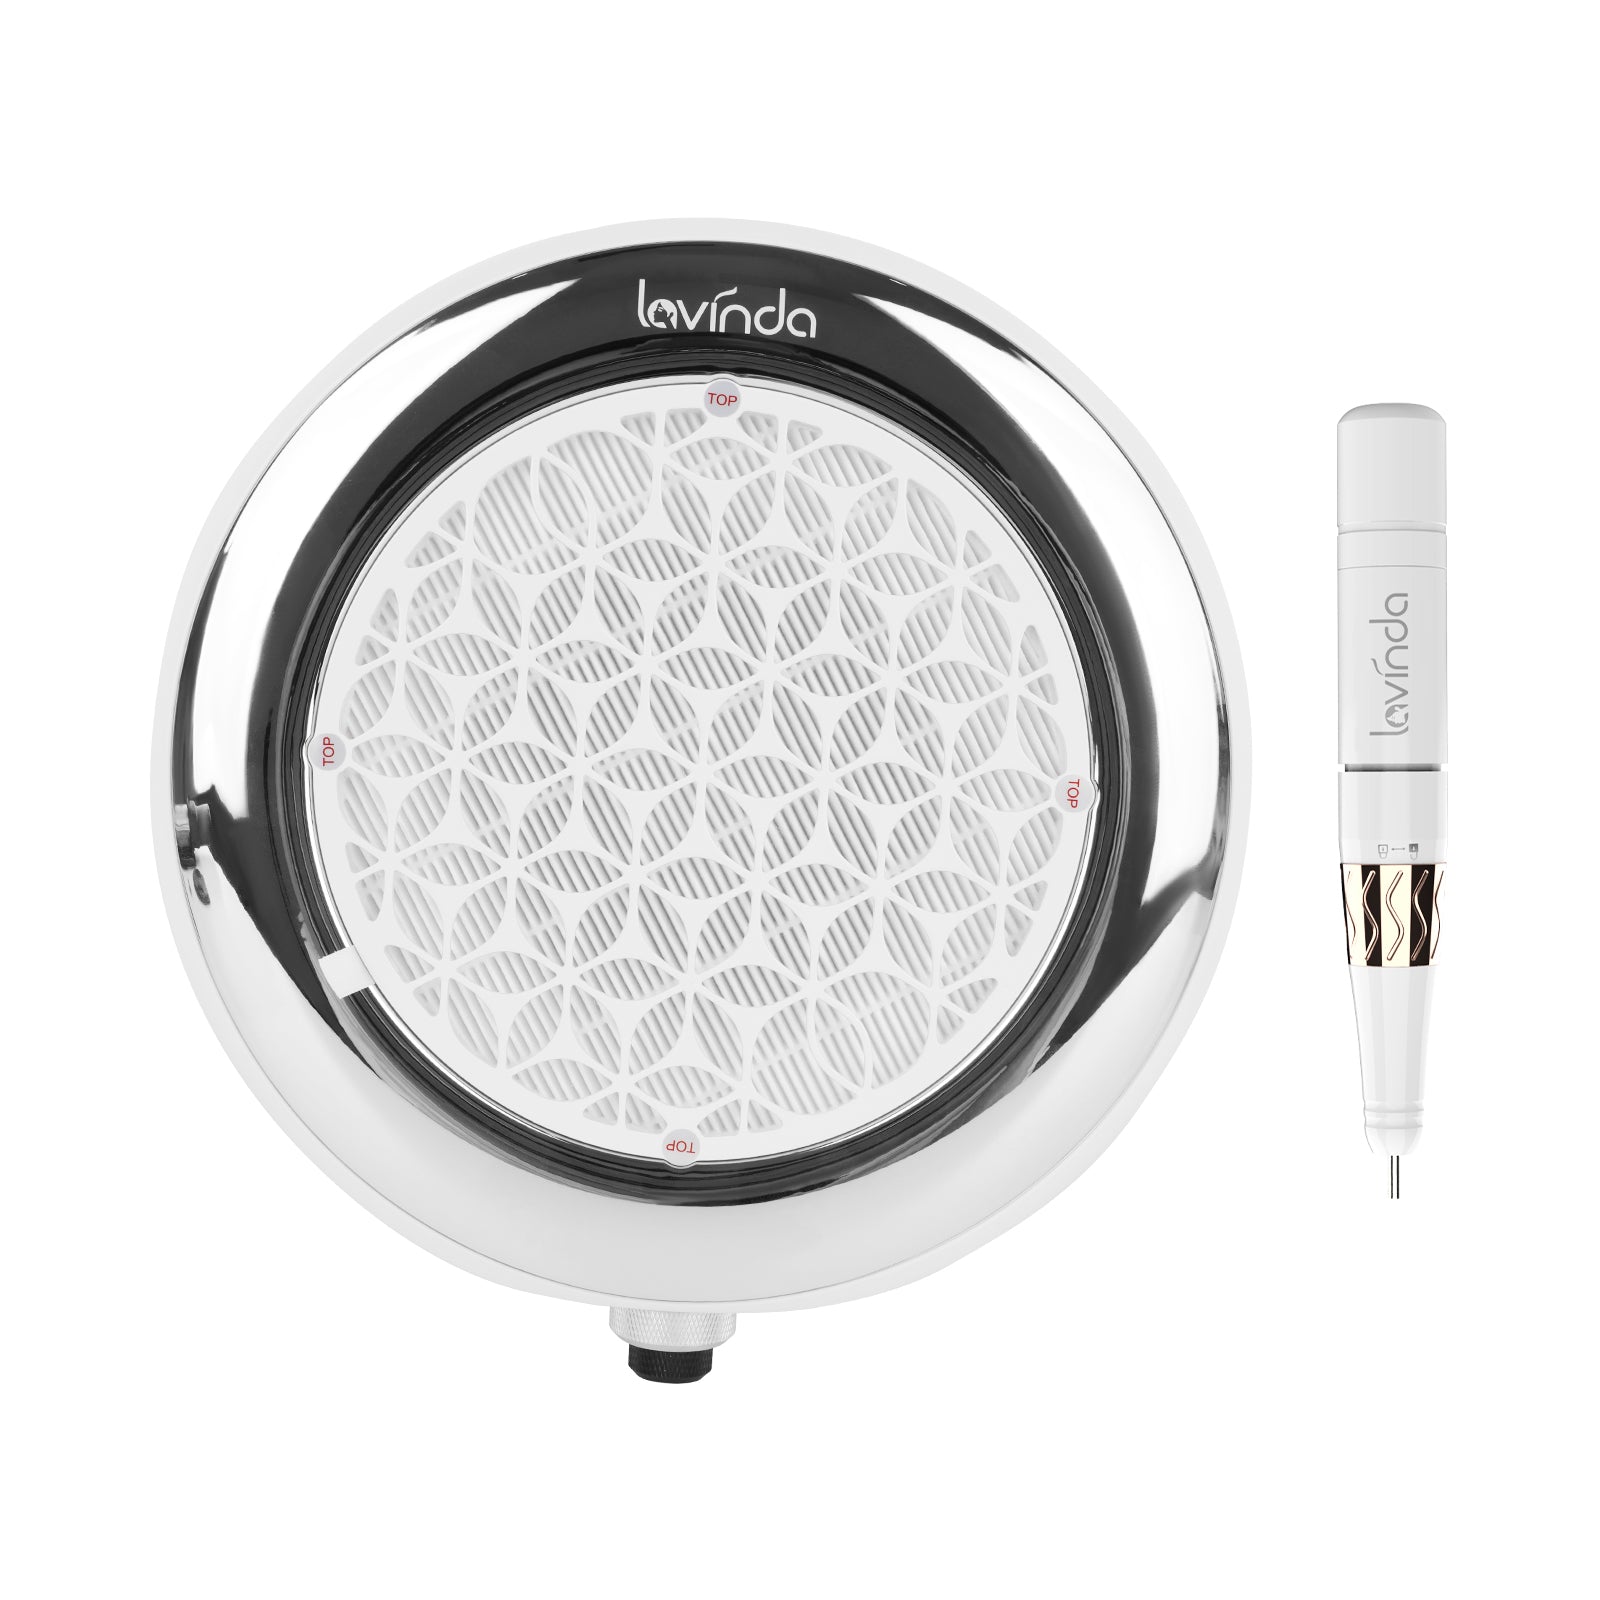
How to Use the UV LED Nail Lamp

1. Disinfect hands and tools.
2. Cut the front edge of the nail short and grind it into an arc that matches the front edge of the paper holder.
(In this way, when making crystals or phototherapy nails, there will be no methyl ester flowing out from the fingers, which is a very important detail)
3. Use the method of soaking your hands or using a dead skin softener to remove dead skin on your fingers. (be careful to clean)
4. Use 80# nail rub to grind the nail surface. (Note: The correct way to engrave and grind is to hold the front edge of the nail rub vertically on the surface of the nail,
Carve out vertical lines, be careful to carve them in place, otherwise the crystal armor or phototherapy armor produced will easily fall off)
5. Dust with a nail brush.
6. Dip a certain amount of cleaning solution with a cotton pad to clean the nail surface.
7. Put the paper holder on. (The arc-shaped front edge of the paper support should coincide with the front edge of the nail and be below the nail plane.
The joint is a straight line, find the center line, so that the nails made will not be skewed. )
8. Dip a small amount of phototherapy adhesive with a phototherapy pen and apply it on the surface of the carved nails. (Note: The amount on the phototherapy adhesive should not be too much
, as long as the surface of the nail that has been carved and polished is wet. )
9. Light for 1 minute.
10. Apply phototherapy multifunctional glue to the joint between the front edge of the nail and the paper support to the length of the nail that needs to be made.
(Only use a thin coat so that the bottom of the nail is painted smooth when you create a sequin-style light treatment nail on the front edge!)
11. Light for 3-4 seconds.
12. Then apply phototherapy color glue on the front edge of the nail. (Pay attention to the color transition from dark to light from the leading edge to the trailing edge.)
13. Light for 3-4 seconds.
14. Apply phototherapy multifunctional glue to cover the entire nail surface.
15. Light for 1-2 minutes. (cured)
16. Dip a certain amount of cleaning solution with a cotton pad to clean the unfixed phototherapy glue on the nail surface.
17. Grinding nail shape and nail surface shape. (Note that the 4 sides are thin and the middle is full)
18. Dust removal.
19. Dip a certain amount of cleaning solution with a cotton pad to clean the nail surface.
20. Apply a wash-free seal.
21. Light for 3 minutes. (If the light time is not enough, the no-clean seal will not light up. If you really encounter such a situation, you can’t repeat it
For the no-wash seal layer, the seal layer should be polished off, and then the no-clean seal layer should be reapplied after dust removal, and the light should be illuminated again. )
22. Done.
23. Remember to apply nutrient oil around the nails to nourish the edges